So you’ve seen some cool rooms, and now you want one of your own! Here’s how to get started.
Step 1: Open the Navigator
The navigator is the gateway to all of the visible rooms on Habbo, and also to making new rooms yourself. Open it up by clicking the leftmost icon in the tray on the bottom right of the Habbo screen.
Step 2: Open the room creation tool

Then hit the “Create room” button to open the creator tool. This is found on the bottom left of every tab on the Navigator.
Step 3: Choose your blueprint
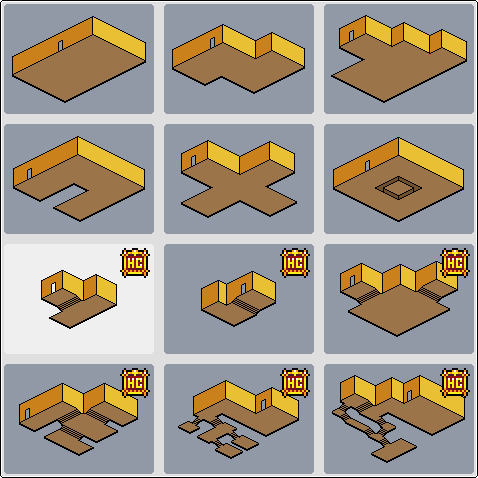
There are many pre-made room shapes for you to choose from – and even more if you’re a Habbo Club member!
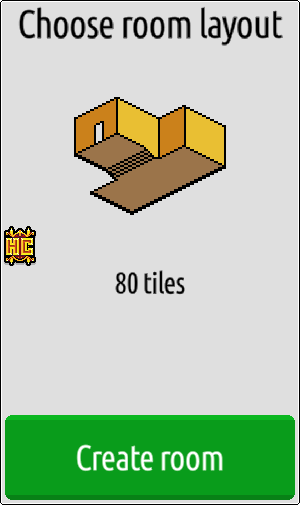
Once you’ve decided the shape you’d like to start building in, your selection will show on the right hand side of the creator and another “Create room” button, this time in green, will appear.
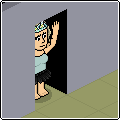
Hitting the button takes you immediately to the doorway of your new (alas empty) room. Hello!
Step 4: Configuring your room settings

The icon tray will have a couple of extra buttons once you’re in your new room. Hitting the box that depicts a room with an “i” in it will bring up the room info.
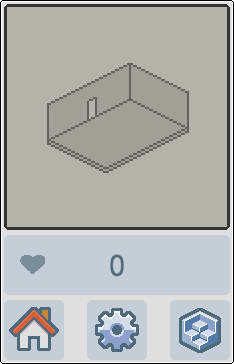
Not a lot will show up when it’s a new room, but from here we can choose the cog button to change some room settings.
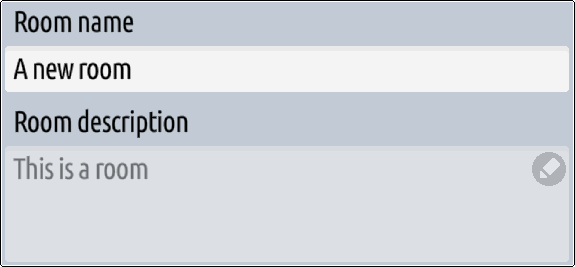
The main thing you’ll probably want to change at first is the name of the room! By default the room names are not very exciting, so on this screen you can pick something that better reflects what you want the room to be, as well as a more detailed description if you wish.
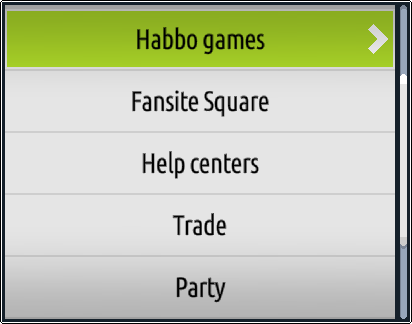
You can also select a room type, which will allow for people to search and find your room by filtering through the categories on the navigator.
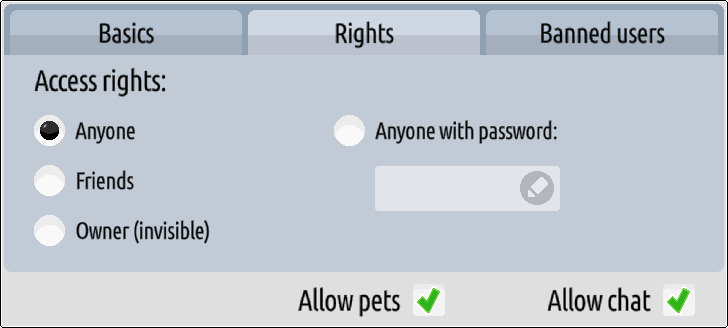
Clicking on Rights gives you access to further options. Here, you can limit who is able to enter your room:
Anyone – The room is open for all!
Friends – Only Habbos on your friend list can enter the room.
Owner (invisible) – No-one but you can get in. Useful if you’re building!
Anyone with password – You can set a password to your room and give this password to those you want to grant entry.
On the Rights tab you can also control whether pets are allowed in the room, as well as having the option to mute the room entirely.

If your room is a group room, you will also have the above controls which can allow members of the group (or only admins if you prefer) to “decorate” the room. This includes moving furniture you’ve placed as well as placing their own.
Step 5: Deleting the room

Sometimes a room’s usefulness comes to an end, or perhaps you simply want to tidy up your navigator! In the room settings menu, the above button will be displayed should you need it.
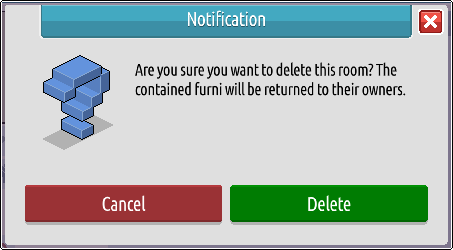
Before the room is deleted, a great big popup will ask you to confirm that you really do want to delete it – just in case! If you choose to delete a room, all of the furni you’ve placed in it will return to your inventory, and any dropped by other users (if you’ve made it a group room) will return to theirs.
